Here are several of my latest favorite bookmaking projects!
I was at my local library and found these amazing science books on the free cart! I took them home and carefully took out some fantastic pages. (you have to be careful and hide from young children when doing this to "library" books- or any books for that matter!)
With my new gorgeous papers I made the pocket book you see below. I learned the fold here. The binding is simply a rubber band to hold all of my "pocket covers" together. Now to find some interesting things to put in the pockets.
Next is a book that we created in a class that I taught on bookmaking last spring.
1. granola bar or breakfast bar boxes with all the flaps and one short edge cut off (it will look like a 3 ring binder when you are ready
2. decorative or painted papers
3. hole punch
4. rubber bands and paper clips
5. papers for pages and pockets and tags and so on!
The Process:
Our process began with taking granola bar or breakfast bar boxes and covering them with our hand painted papers. We used elmer's glue brushed on the wrong side of the papers to adhere them. We clipped the corners of our papers to help get a mitered corner. We covered the inside and the outside with papers. You could paint these if you wanted instead of covering them, however I found that the extra layers of paper really helped strengthen the covers.
Next we cut pages and cut holes in the pages and the covers and our binding was rubber bands and paper clips!! So clever, you can add or subtract papers whenever you want and anything you can punch holes in can become a page.
This next book is really simple but I love how the binding is done.
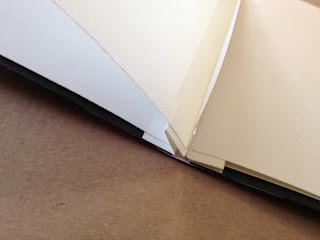
Take a sheet of paper as tall as your pages and fold it like an accordion. Then glue your pages onto right side of each "mountain".
Next add a cover sheet to the front and back and then give the book a spine with a decorative piece of paper wrapped from front to back encasing the bound pages.
Simple no sew bound booklet!
Another book we created in art class this spring is this fantastic 2 books in one gallery pocket book. This is a blinged up version of this book that we made a few semesters ago in another class.

We made the covers out of recycled cardboard covered in hand painted papers. Then we made the gallery book by folding our paper as shown here. Finally, we created a simple closure with some string and buttons.
What makes this book so fun is that it folds out completely into a long story line,
it can stand up on its own to display work in pockets or your story, you can use both sides - one with pockets and one with plain pages!
The plain page side of this book has been washed in watercolors! Now it is ready for some art journaling!


No comments:
Post a Comment