

Jackson Pollock
Today was my first class with an amazing homeschool co-op group! We studied the work of Jackson Pollock. We talked about the meaning of Abstract Expressionism and how Jackson Pollock's work fit into this movement. We discussed why Pollock's work was considered new and interesting at the time he produced it in history and what else was going on in American history at that time. Our conversation led us into color theory and what makes art valuable.
Next we decided to step outside and try our hand at a collaborative action painting of our own.
We had two bed sheets laid out on the ground on top of a tarp and 4 colors of latex paints. We used brushes, sticks, cups, and syringes to splatter, drip, and splash color on our "canvas". A special thanks to my 11 year old photographer during the action painting! She did an amazing job as you can see.

The syringes were a big hit and took some practice to master as far as paint placement goes.

On the left you can see a controlled pour from a cup.
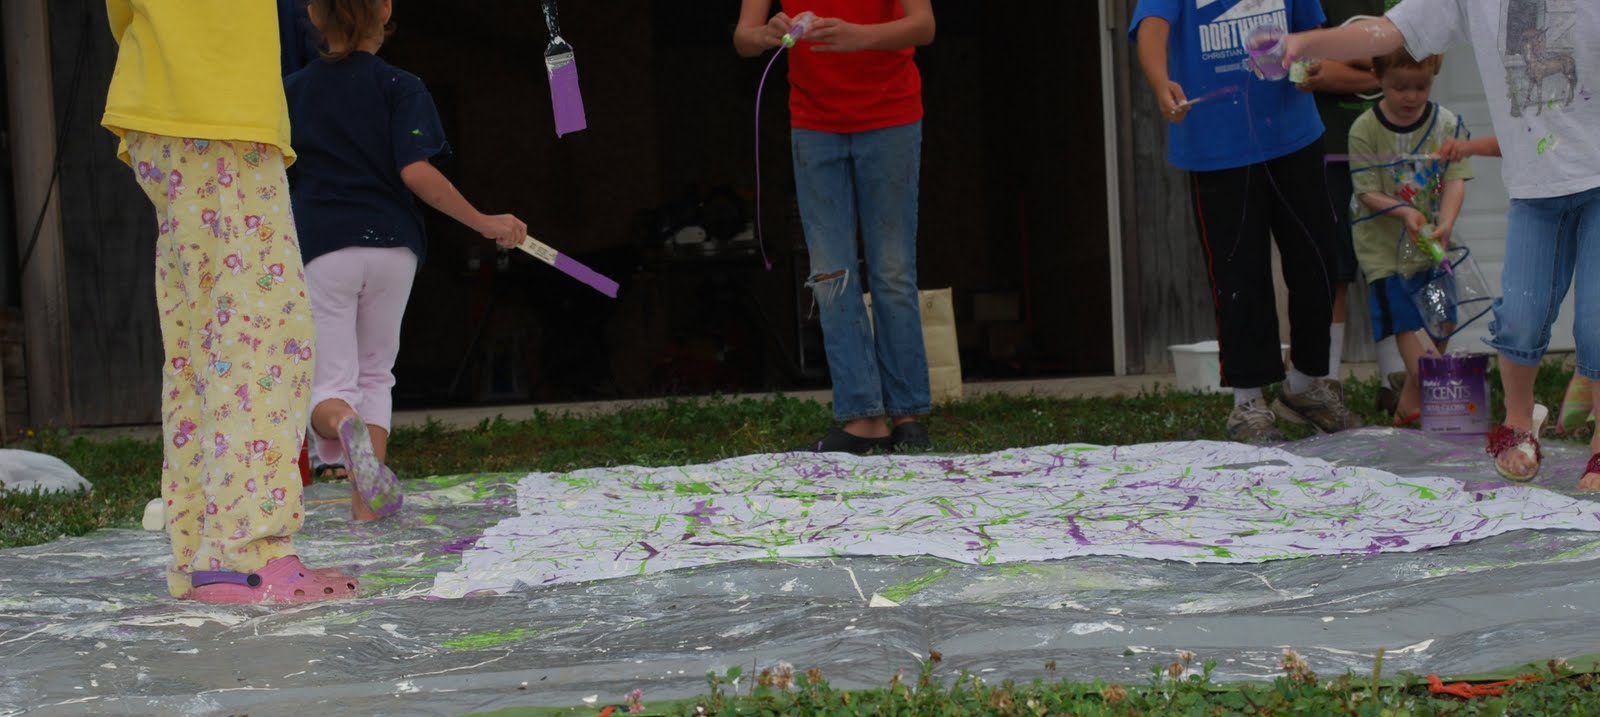
Brushes and Sticks and Cups and Syringes!!

We added one color at a time stopping when we felt that color was "done". We took pauses to talk about contrast and thoughtful placement.

What an exciting way to paint!

When we were done we talked about our thoughts about the process and about the feelings and attitudes that our art illustrated. We decided that our work had a happy energy to it.
It was interesting to hear how differently some students felt about Pollock's work after they participated in this project. Maybe action paintings are "real" art after all! We discovered that this kind of art is very unique - there is not another in the world exactly like this one and even if we all tried again together we could not duplicate it exactly.

You have to know when to walk away!
Here are some photos of our work in progress and a section of the finished pieces.


I think Jackson would be proud
We headed back inside to work on another Pollock inspired project that we could do on our own. We created Marble Painting Prints.
To create these prints we had bowls of tempera paints with marbles in them and cardboard trays with paper placed inside. The kids chose a painty marble, put it in their tray and rolled it around to create a design. It was fun to watch them experiment with initial placement of the marble, color choices, the use of multiple marbles, etc.


Look at some of our final work!
As we were finishing up and all the prints were laying out to dry we discovered something interesting... you could start to see patterns in the work that would help you identify who the artist was. - Amazing!


 |
| Here are our action paintings hanging in the studio! It only took 4 DAYS to dry! |


