Limited Space Available
Pre-K classes
6 week sessions
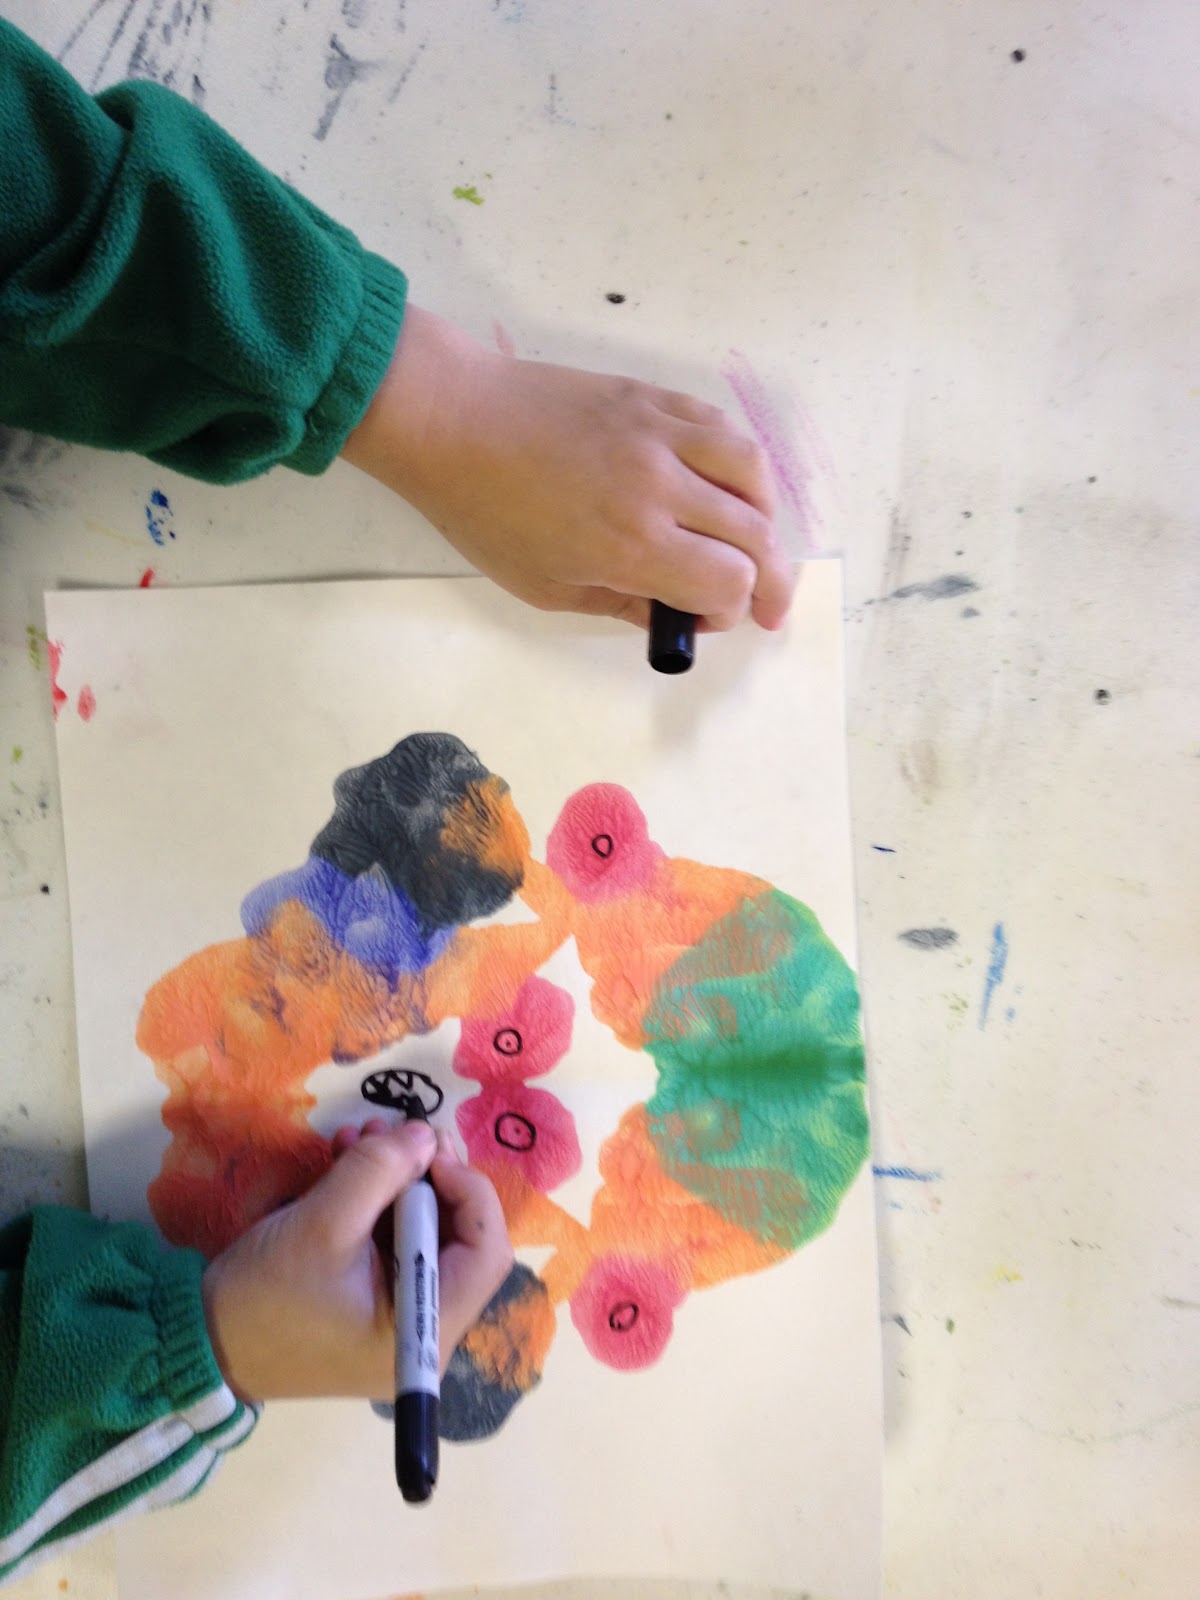
for artists ages 3-6 years
Thursdays from 10-11 am
Session I (this class is now full)
March 7- April 18 (excludes Thursday March 28)
Fees = $45 per student (includes supply fee)
Session II
April 25- May 30
Fees = $45 per student (includes supply fee)
********************************************************************
Homeschool Classes
4 week sessions
For artist ages 6 and up
Tuesdays from 10-11 am
Session I Watercolor (full)
March 5- April 2 (excludes Tuesday, March 26)
Fees = $35 per student (includes supply fee)
Session II Pencil Drawing
April 9- April 30
Fees = $35 per student (includes supply fee)
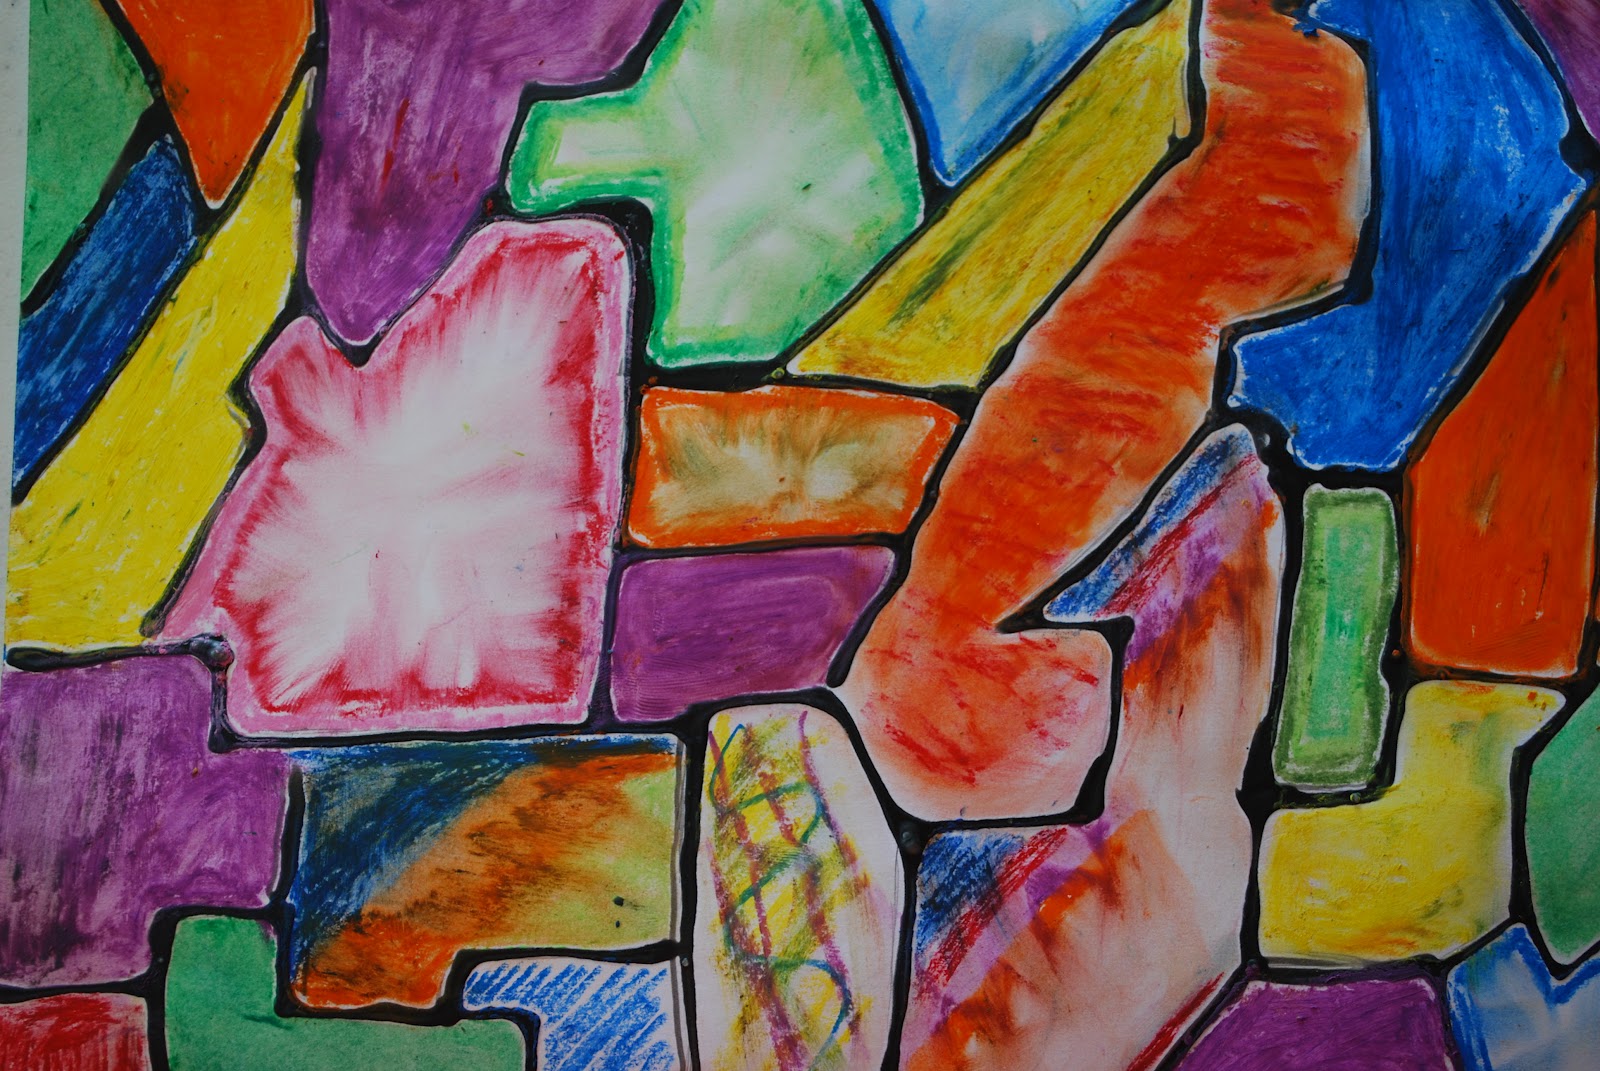
Session III Paper Arts and Bookmaking
May 7 - May 28
Fees = $35 per student (includes supply fee)
*********************************************************************************************************
Saturday Classes
For artist ages 6 and up
Session I - Textile Arts
Come and use your drawing and painting skills in a whole new way as we create with and on fabrics!
March 9 and March 16 (2 Saturdays, 2 hrs each)
10:00 am-12:00pm
10:00 am-12:00pm
Fees = $35 per student (includes supply fee)
********************************************************************************
Limited Space Available