Thursday, August 8, 2013

Sihouettes

 Preschool class did silhouettes!

I love how these turned out!!


Printmaking Class

Printmaking 
Mono prints and Collagraphs

We had a lot of fun experimenting with printmaking in this summer class. 

FIRST we made small collagraph plates to experiment with our recyclables to see what and how things would print.


Some things were really successful -like cereal box cardboard was great! Some things did not print well at all - like designs in hot glue were a disappointment... 

SECOND we made larger collagraph plates with our newfound knowledge and created a composition and printed at least 4 copies. We learned how to sign and number our prints like a printmaker.


 THIRD, we painted on foil and drew with Q-tips and pulled mono prints!


 FOURTH, we designed and created our own stamps and stamped them on a watercolor background!


Bookmaking


Here are several of my latest favorite bookmaking projects!

I was at my local library and found these amazing science books on the free cart! I took them home and carefully took out some fantastic pages. (you have to be careful and hide from young children when doing this to "library" books- or any books for that matter!)
With my new gorgeous papers I made the pocket book you see below. I learned the fold here. The binding is simply a rubber band to hold all of my "pocket covers" together. Now to find some interesting things to put in the pockets.


Next is a book that we created in a class that I taught on bookmaking last spring. 

What you need:
1. granola bar or breakfast bar boxes with all the flaps and one short edge cut off (it will look like a 3 ring binder when you are ready
2. decorative or painted papers
3. hole punch
4. rubber bands and paper clips
5. papers for pages and pockets and tags and so on!

The Process:

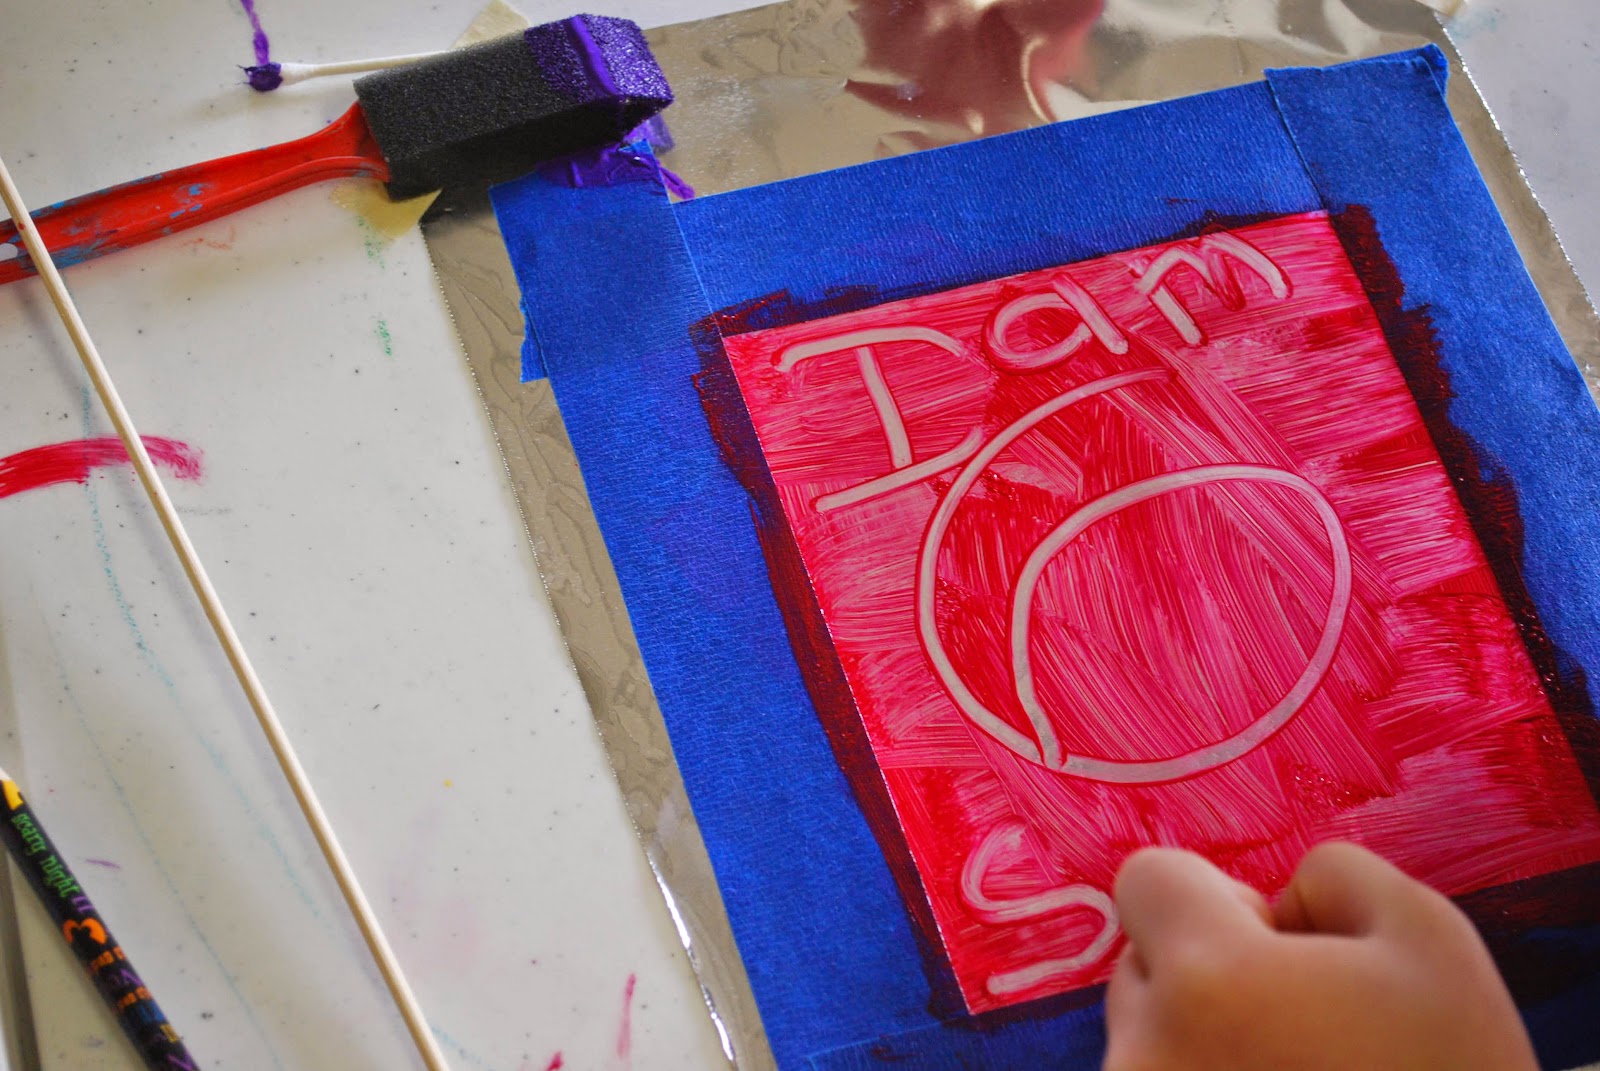
Our process began with taking granola bar or breakfast bar boxes and covering them with our hand painted papers.  We used elmer's glue brushed on the wrong side of the papers to adhere them. We clipped the corners of our papers to help get a mitered corner. We covered the inside and the outside with papers. You could paint these if you wanted instead of covering them, however I found that the extra layers of paper really helped strengthen the covers.
Next we cut pages and cut holes in the pages and the covers and our binding was rubber bands and paper clips!! So clever, you can add or subtract papers whenever you want and anything you can punch holes in can become a page. 


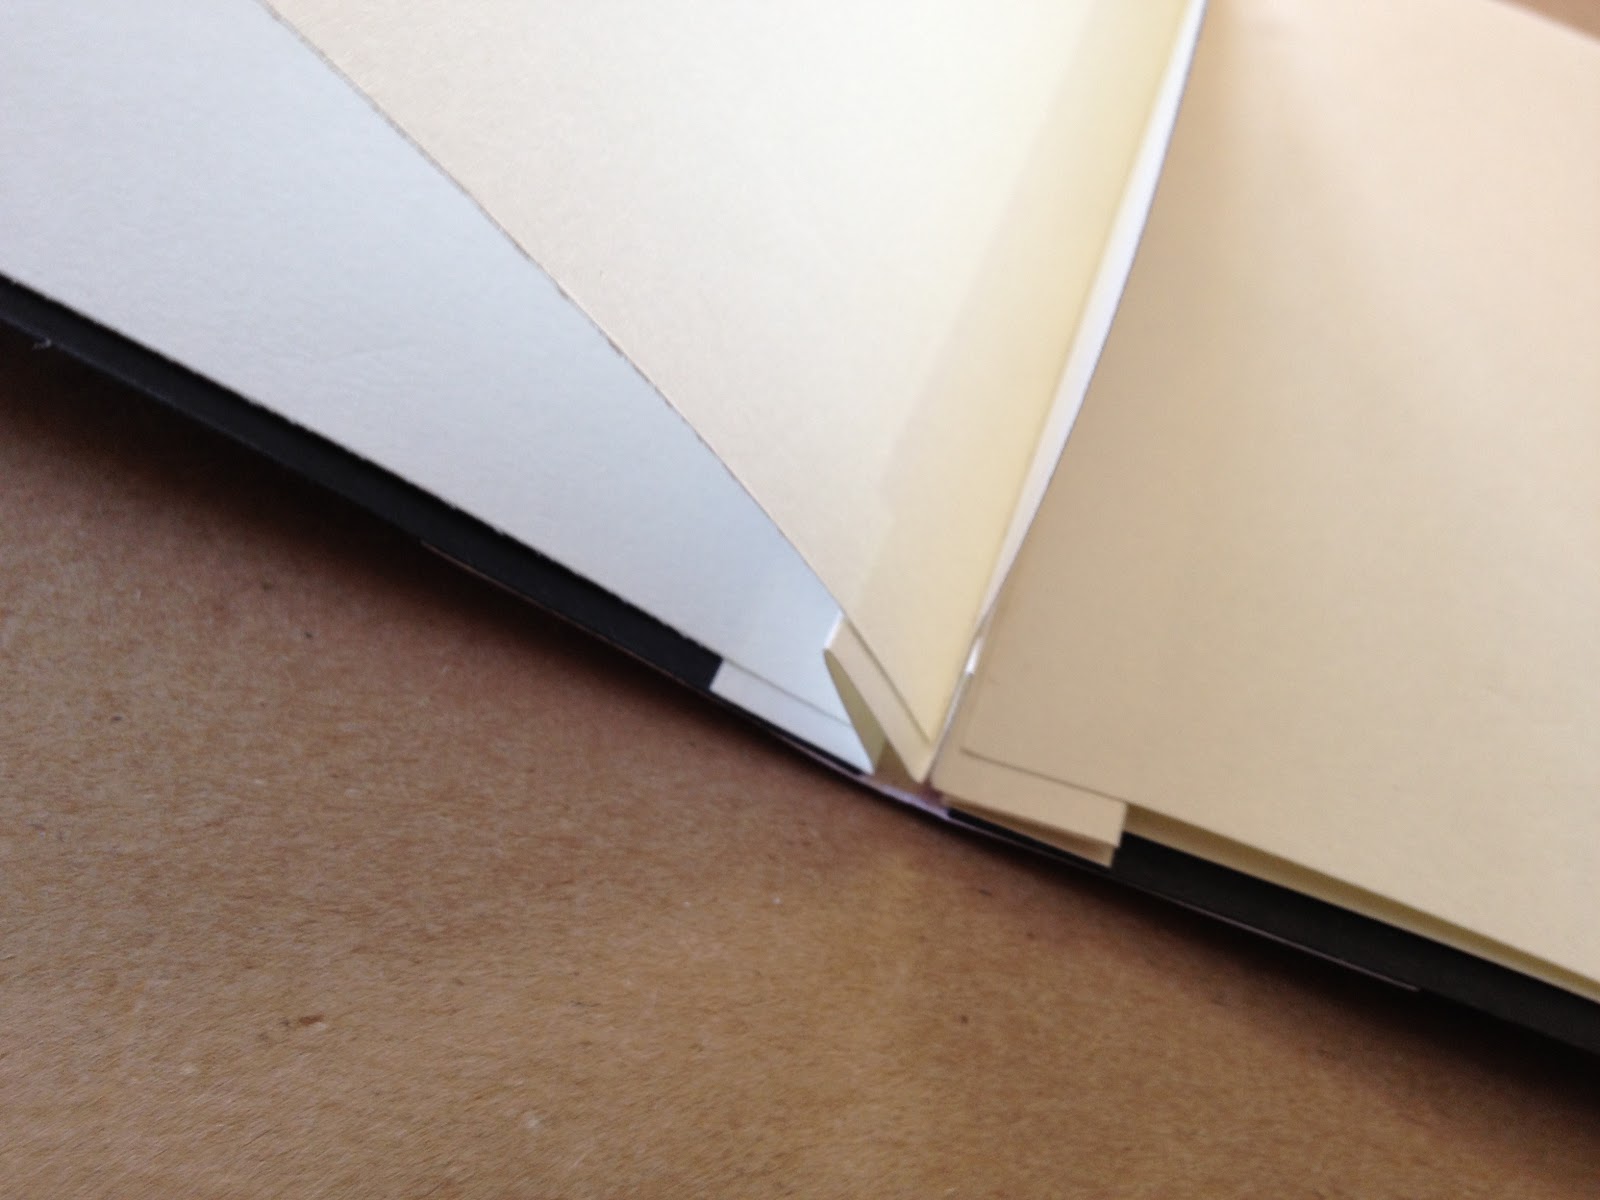
This next book is really simple but I love how the binding is done.
Take a sheet of paper as tall as your pages and fold it like an accordion. Then glue your pages onto right side of each "mountain". 

Next add a cover sheet to the front and back and then give the book a spine with a decorative piece of paper wrapped from front to back encasing the bound pages.


Simple no sew bound booklet!

Another book we created in art class this spring is this fantastic 2 books in one gallery pocket book. This is a blinged up version of this book that we made a few semesters ago in another class.


We made the covers out of recycled cardboard covered in hand painted papers. Then we made the gallery book by folding our paper as shown here. Finally, we created a simple closure with some string and buttons.


What makes this book so fun is that it folds out completely into a long story line,
it can stand up on its own to display work in pockets or your story, you can use both sides - one with pockets and one with plain pages! 

The plain page side of this book has been washed in watercolors! Now it is ready for some art journaling!


Wednesday, July 17, 2013

Fall Classes 2013

Storybook Art I - A study of amazing illustrators


We will discover the artistic beauty in the illustrations of children's books. Then we will use this inspiration to create our own pieces in a variety of media - including collage, painting, inks, pastels, etc. We will study different illustrators in Storybook I and II. These classes can be taken as a set or independent of one another.

Artists 5 years and up
Fees $35 per student (supplies included)

Tuesdays August 20 - September 10 from 10-11:00 am - Class is Full
or
Thursdays August 22 - September 12 from 10-11:00 am - Class is Full


Storybook Art II- A study of amazing illustrators
We will discover the artistic beauty in the illustrations of children's books. Then we will use this inspiration to create our own pieces in a variety of media - including collage, painting, inks, pastels, etc. We will study different illustrators in Storybook I and II. These classes can be taken as a set or independent of one another.


Artists 5 years and up
Fees $35 per student (supplies included)

Tuesdays September 17 - October 8 from 10-11:00 am
or
Thursdays September 19 - October 10 from 10-11:00 am


Famous Artists
We will study the life and art of several famous artists and create our own inspired works of art, including sculpture, painting, and drawing.


Artists 5 years and up
Fees $35 per student (supplies included)

Tuesdays October 15 - November 5 from 10-11:00 am
or
Thursdays October 17 - November 7 from 10-11:00 am


Preschool Art
 We will learn many essential art skills and create in a variety of media!

Artists 3-5 years
Fees $25 per student (supplies included)

Thursdays August 22 - September 12 from 9:00-9:45 am

*********************************************************************************

Limited Space Available

Register today via email at  artwithaubrey@gmail.com  or call  (765)237-9002


Wednesday, April 17, 2013

Summer Art Classes 2013

Summer Art Classes 2013

Session I
For artists 5 and older
June 10-13 Monday-Thursday 10:00-11:00 am

Printmaking
- collagraphs, mono prints, make your own stamp, and more
Fees = $35 per artist (supplies included)


Session II
For artists 5 and older
June 17-20 Monday-Thursday 10:00-11:00 am

Paper Mache
- sculptures and bowls
Fees = $35 per artist (supplies included)


**Register today by emailing me at artwithaubrey@gmail.com**

Adult Art Classes in May
I am offering a series of drawing classes in May for Adults! 

We will meet on Tuesday nights May 7, 14, and 21 from 7-8:30 or so.
Fees are $30


We will be studying the elements and principles of design (texture, line, shape, pattern, form, balance, and emphasis) and using them to do several drawing exercises and some finished drawings. We will work in both ink and pencil.

Come and relax and learn something new!

**Register today by emailing me at artwithaubrey@gmail.com**

Wednesday, March 20, 2013

Mola Inspired Art


Mola Inspired Art

Molas have their origin in body painting. Only after colonization by the Spanish and contact with missionaries did the Guna start to transfer their traditional geometric designs on fabric, first by painting directly on the fabric and later by using the technique of reverse application. It is not known for certain when this technique was first used.

As an inspiration for their designs, the Guna first used the geometrical patterns which have been used for body painting before. In the past 50 years, they also started to depict realistic and abstract designs of flowers, sea animals and birds.


http://en.wikipedia.org/wiki/Mola_(art_form)

In this textiles class we took the time to talk about the Kuna Indians, where they live and their unique artform of Molas. We looked at lots of beautiful examples of Molas and talked about how they are constructed. We noticed the bright colors and intricate designs. The students were really impressed that Kuna begin making these beautiful Molas when they are children.

 Our project was to create a Mola inspired piece out of felt. Rather than reverse applique we layered our designs and used tacky glue.

Supplies needed:

pencils
sketch paper
permanent markers
scissors
tacky glue
an assortment of colors of felt

The process:

After we got all inspired by the Kuna artists we got to work creating a simple sketch that would become our map and pattern for our felt versions. Once a sketch was decided upon we outlined it in permanent marker so that we could see it through a second piece of sketch paper in order to make the pattern pieces we needed to transfer the shapes to the felt. 

The students picked a background piece of felt and then began building their felt molas from the background forward. For instance, the student who created the turtle traced the main body of the turtle first onto paper from his "map'. Then he cut it out of paper. He used this template to trace the shape onto the felt. Next he cut it out of the felt and glued it to his background. He continued in this way through all the layers of his design.

The results were colorful and gorgeous! This was a lot of planning and hard work!


The "map" sketch in permanent ink and the beginnings of a turtle mola!


a beautiful butterfly design


Finished Mola inspired turtle by a 6 year old artist!


I love the sun reflecting in the linear water design of this one!