Monday, December 5, 2011

Henri Matisse- drawing with scissors

"Icarus" - Henri Matisse

In this lesson we studied primarily the cut-out work of Henri Matisse. We began by discussing the life and art of Matisse. Theartstory.org is a great place to find information on specific artists and movements within art history. We learned how Matisse discovered his love for art during his recovery from appendicitis when he was 20 years old. From that point forward Matisse concentrated entirely on his art and with expression through color.
We watched this video about Fauvist art. This allowed us to see how differently color is used in portraiture and landscapes done by Matisse and his Fauvist friends. We talked about how color can be used to convey feelings, etc. 
Finally, we discussed how another illness in Matisse's later years led him to express himself through cut-outs rather than painting. Matisse was confined to a wheelchair at the end of his life and found painting difficult. Now he would begin to "draw with scissors"!  
We looked at cut-out art by Matisse in  the book "OOOH Matisse" as well as other library books. We also watched this video about his work named "Icarus" pictured above. We had a final discussion on color and positive and negative space and how each could effect the outcome of our art...


Now we were ready to work.


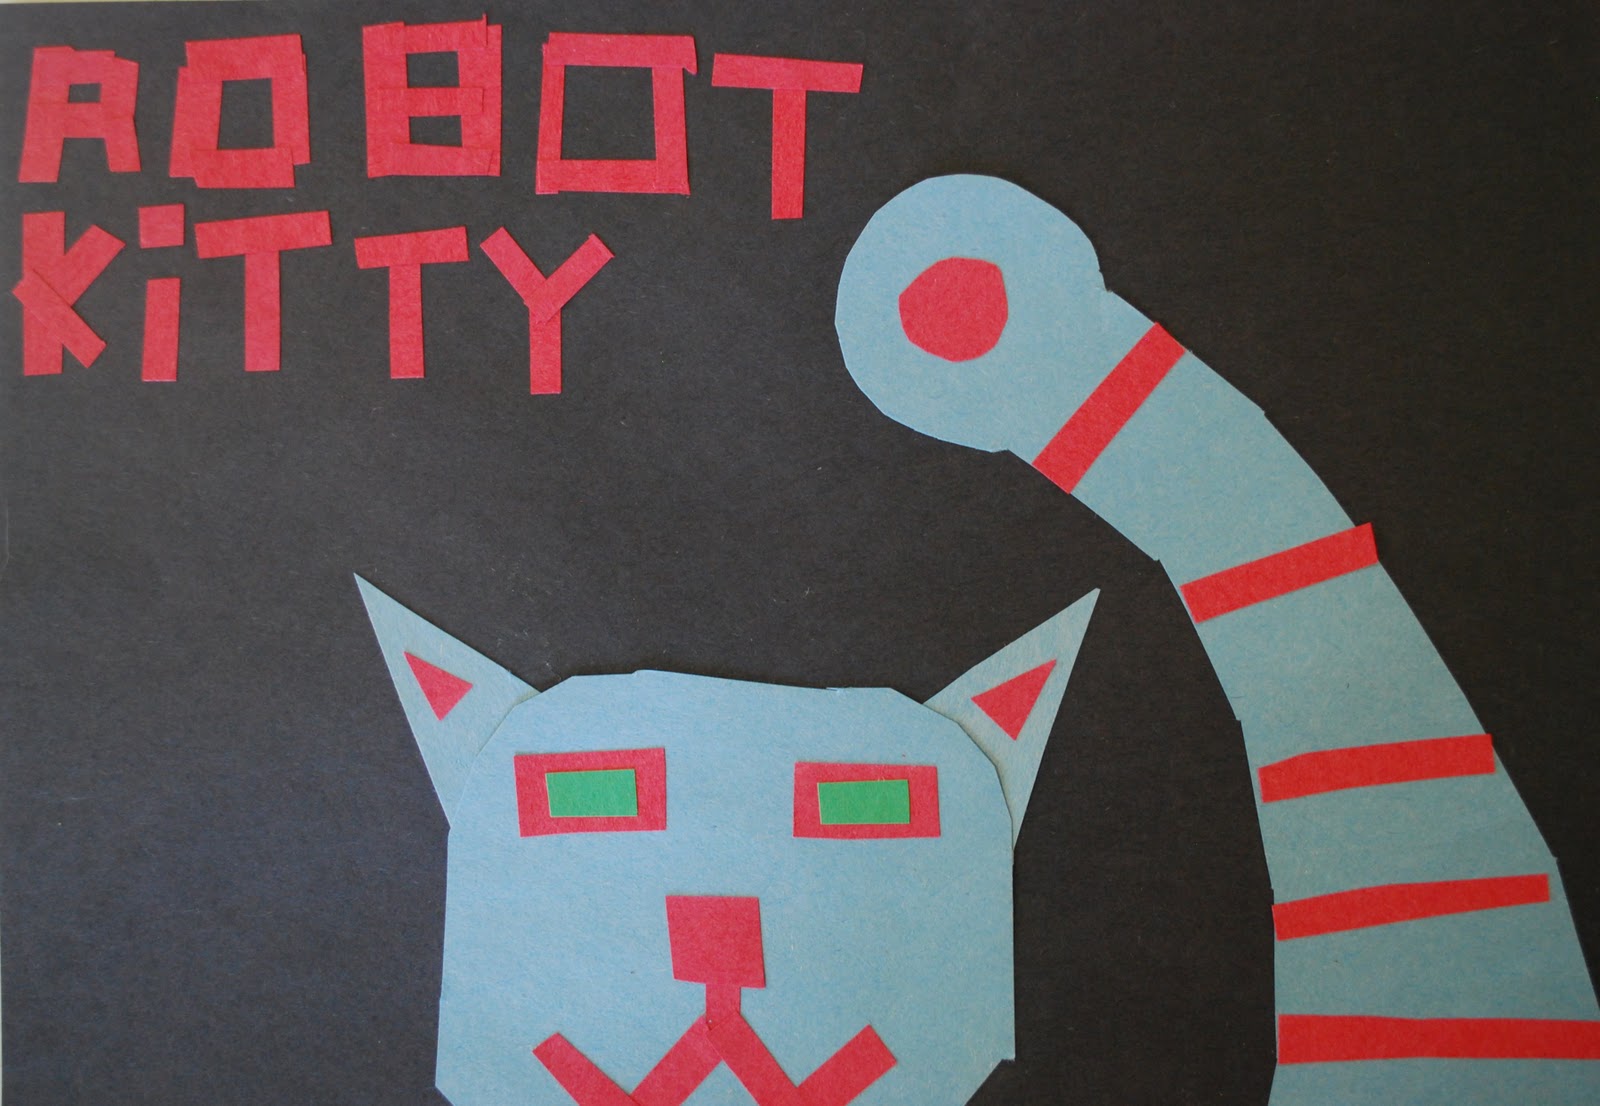
Here are some of our cut-out works


When our work was complete we had a terrific critique. What went right? What would we change? What is our story about our art vs. how others interpret it? How did we use color? How did we use positive vs. negative space. etc...


Thursday, November 17, 2011

Gallery Pocket Book!

front cover to our book


We made fantastic books in preschool art. They are so easy to make and can be used to keep art work, hold a story sequence, or photos, etc. And if you start from the back you have a second set of blank pocketless pages to write or draw a story! I will show you what I mean below.


So here are some photos to show you how easy it is to fold this book.


I wanted the books to be a few pages longer so I simply bound two folded books together as shown above. 


 This book is awesome to hold loose art work and can also stand up for easy art portfolio display.

Now that we folded our books we need to make a front and back cover for them to show just how creative we are! We started with the front cover. I had the kids do a collage with maps in the back ground. Then they wrote the first letter of their first name in permanent ink on top of the collage. This ties us back to our Alphabet adventures of the last couple of weeks as well. 


Next they colored with crayons... the more crayons, the more colors, the more beautiful! Finally we painted over the whole thing with a wash of watercolor.


We had to make a back cover too so we tried something completely different for this! This was really fun and I have a feeling the kids could have done this for a lot longer. We will have to do it again on bigger paper and outside when it is warmer....
We 
SPRAY PAINTED!
So, we started by placing a piece cut to the size of our cover in a box to contain the spray of the paint. Next we added a die cut letter. I put tempera paint mixed with water into spray bottles and the kids sprayed two colors over their letter.


 Here are the results! the die cut letters left an image where the paint was blocked AND we ended up with cool painted letters as well!


While we waited for our paint to dry the kids started working in their books. You can decorate the pockets, tell a story on the pockets, design the background behind where your art will be, AND turn the whole thing over to have blank pages for a new story or art work.


pocket side

story side


Collage Watercolor Resist


This week with my own 5 children we went to work on some canvases that needed repurposed and created these beautiful hand paintings.


To get started we painted over the old canvases with white paint to prep them for our work. 


Then I had the kids tear up these old maps and glue them onto the canvases to create a collage background. The maps were part of a great find at out local library. There is a section of free books that are old, etc. as you leave the building. I found these great, completely outdated atlas books just waiting to come to my studio! They are made of thick paper and really do well with collage!


 We used permanent markers to trace each hand on top of our collage work. 


Finally we used some crayons on the surface to form a resist and then painted over the entire thing with watercolors. The kids were a little annoyed that I limited them to 3 colors, but I really think it helps to unify their work when it is all hung together. Beautiful art and a fun way to capture a moment in time with the current size of their hands!


Alphabet Fun Week II - resists


In Preschool art we learned about crayon / watercolor resist. We started by writing our names in crayon and then painting over it with watercolor paints. Some of the children wrote surprises in white crayon that wer revealed when painted over!


hard at work


Next we experimented with watercolor paint some more by creating blow paintings. To do this you just need watery paint dripped on paper... then blow it around with a straw! It is really fun. You can use these prints later as card fronts, or backgrounds for drawings, etc.